3d Roadblocks
Okay, its been a little longer than I hoped for for an update, but it has been Christmas so I’m using that as an excuse.
The build of the huxley was going very nicely until I hit a few snags with the kit I’d ordered. Firstly, there are nowhere near enough nuts, bolts and washers provided to complete the kit. I ran out before I’d even finished the frame, let alone mounted the motors, built the extruder, or made the idlers. 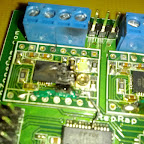
Secondly, the belt for the X axis was too short, so I couldn’t fit that.
Thirdly, the electronics actually burst into flames on me whilst testing and configuring the motors. This was before I’d actually done anything bar plug the power supply in. To say I wasn’t impressed doesn’t quite cut it! Oh, and the analogue to digital converter for the hotend was missing.
So, considering I got a kit for hassle free construction of my first printer, I’m not overly enamoured with it. The UK company have put me in touch with the manufacturer to get things sorted, and they have said they will send out the replacement/missing parts from the states, so hopefully things will get sorted, but I could’ve had a nice working 3d printer by Christmas had everything been right in the first place. The instructions on the wiki also leave a lot to be desired, especially the hotend page, which were for a totally different design. Only one photo showed the model I’d got.
In the meantime, whilst waiting for the replacement parts, I’ve done some research into the electronics available for the various reprap machines, and have decided to build my own electronics based on the generation 7 schematics on the wiki. These electronics all fit onto a single sided PCB, so nothing complicated, and seem to be relatively simple. In fact, I bought a pre-made board off eBay, and had most of the other electronics already ‘in stock’ in my cellar. The gen 7 boards also use pluggable stepper motor drivers, which mean that if one does burn out, then you can simply plug another one in, unlike the kit electronics where everything is surface mounted and impossible to replace.
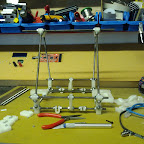
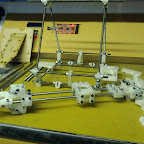
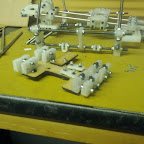
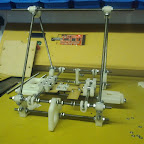
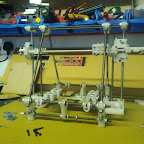
With all this, I’m hoping I can get a chance this weekend to finish off the electronics and get the main body of the printer working. I’ve built the extruder, mounted the motors, and got all the belts on, so all that is left is the calibrate and level it all, and build the hotend. I’m hoping the hotend will be fairly straight forward, but as I’ve no real instructions, just one picture to go off, I’m going to be very careful!
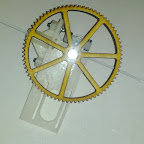
Anyway, here’s some pictures!
In other news, I’ve been rather impressed with how easy Google SketchUp is to use. I’ve been messing around with it to design the parts for me printed quadcopter. For a beginner who just wants to make simple parts to be printed on a reprap, it is perfect. Install the plugin for exporting to STL files, and you can both upload these to thingiverse, and import into most of the 3d printer software that is available for the repraps.
Also, slightly related, I’ve actually had a quadcopter flying with the Arducopter controller. It was only a brief test as I managed to crash it and shatter 3 of the blades. Spare blades only arrived on Christmas eve, so not had a chance to do much more with it. Just waiting for some better weather so I can fly it outdoors. I’ve managed to snag myself and OpenPilot Copter Control board too last week which should be arriving any day. This is a halfway house between a simple KK Multicopter controller, and the full blown ArduPilot Mega. I’ve got the APM telemetry kit coming soon too, so I can take my laptop and get live telemetry from my quadcopter. Unfortunately, my laptop battery has developed a fault, so the only way I’ll be able to do that at the moment is if I can fly it somewhere with a power socket nearby!
So, hopefully next week I’ll be reporting that my printer is done, and will at least have done a couple of nice test prints. I think my first actual things to be printed will be brackets and improvements to the printer tho’.
Leave a Reply